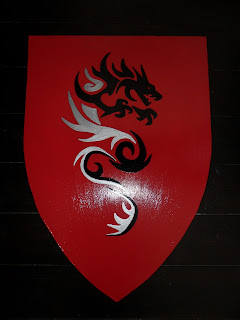
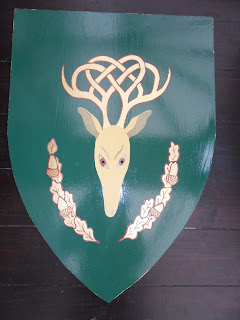
To make a medieval Shield you will need…
6mm think MDF wood,
Paints,
Clear Varnish,
Wood Glue,
Webbed tape,
Design Ideas.
First you need to make a Shield template from a piece of paper. Get a sheet of paper about the same size as you want the shield to be, and take into account the size of the sheet of wood. Fold the paper in half lengthways, and then in half again. Open out the second fold. From the crease of this fold, on the edge of the paper, draw a curve to the centre fold at the bottom of the paper. Cut out this curve and unfold the paper – you should have a shied shape.
Use the template to draw out a shield onto the MDF. Cut out the shield with a Jigsaw and sand the edges off.
Undercoat the shield on both sides and the edges.
Select one side to be the front, and give this side a couple of coats of the base colour paint. Use left over house hold gloss, satin emulsion paints or Humbrol paints. Poster paints aren’t very good to use.
If you need help selecting a design you can search Google Images. When looking at the search results, if you look down the left hand side you will see an option to look for line drawings. If you only search line drawings you can use these as a guide to draw a design onto the shield.
When you have selected an image – if you know how to use your graphics package, you can enlarge the image, print it off and cut it out and use it as a stencil. Otherwise you will have to draw freehand.
When you have drawn the design onto the shield front you can begin to paint it. Be careful not to rest your hand on wet paint.
Finishes the shield by painting the sides Gold – the medieval folk liked gilded embellishments, and give the shield a couple of coats of varnish to make it more durable and shiny.
To make a handle, cut out a 20cm length of webbed tape and glue it to the back of the shield about 8cm down from the top edge. This tape acts as a handle to hold the shield and can also be used to hang the shield up.


